Introduction
If you’re considering new siding for your Cape Cod home, you’re making a smart investment. Not only does quality siding improve curb appeal, but it also protects your home from the region’s coastal weather. Understanding what to expect during your siding installation project can help ensure a smooth, stress-free experience. Here’s a step-by-step breakdown of the typical process:
We at PLJ are the leaders in carpentry services in Cape Cod, MA,and specialists in siding services.

Click here and get a free quote for your siding project with PLJ Carpentry
1. Initial Consultation and Estimate
The first step is scheduling a consultation with a professional siding contractor. During this meeting:
- The contractor will inspect your home’s exterior and assess your current siding (if any).
- You’ll discuss siding materials (vinyl, fiber cement, cedar shakes, etc.), colors, and styles.
- You’ll receive a written estimate outlining the cost, timeline, and scope of work
Tip: Choose a contractor familiar with Cape Cod homes and coastal weather challenges.
2. Permits and HOA Approvals (if needed)
Before any work begins, your contractor may need to:
- Obtain local permits.
- Get approval from your Homeowners Association (if applicable)
Cape Cod towns often have strict building codes to preserve historic charm, so permitting can be a critical step.
3. Scheduling and Preparation
Once everything is approved:
- A start date will be set, often weather-dependent due to Cape Cod’s coastal conditions.
- You may need to trim landscaping, move outdoor furniture, or clear driveways to give the crew room to work.
4. Old Siding Removal
On installation day, the crew will:
- Remove old siding carefully to avoid damaging the structure underneath.
- Inspect the sheathing and framing for rot, mold, or insect damage.
Any hidden issues discovered during this step will be addressed before new siding goes up.
5. Wall Preparation
Before installing the new siding, the team will typically:
- Install or replace the house wrap (a moisture barrier).
- Add flashing around windows and doors for waterproofing.
- Repair or replace insulation if needed for energy efficiency.
6. Siding Installatio
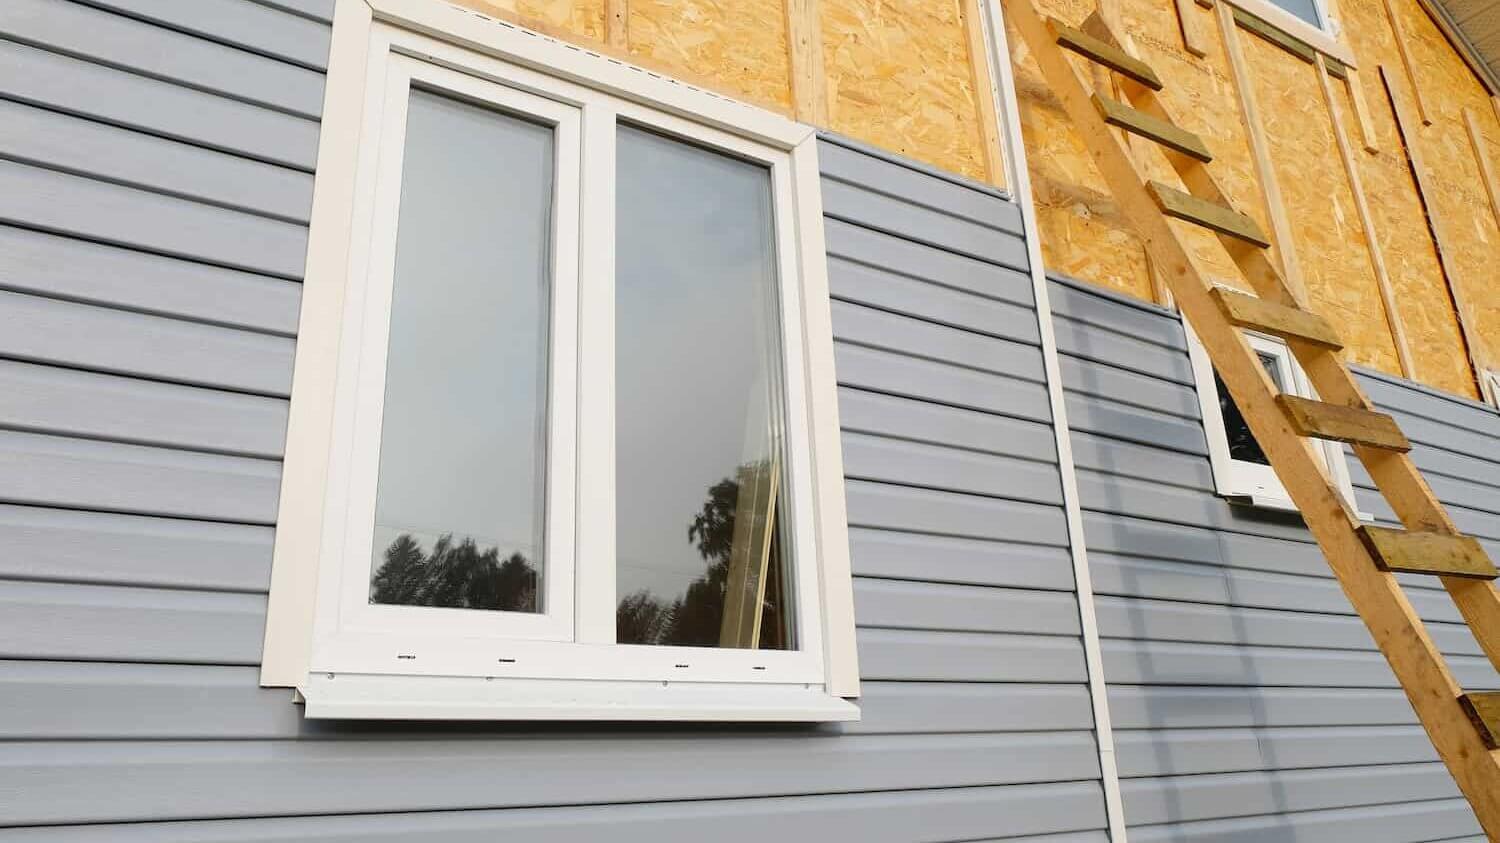
This is the main event! Depending on the size of your home and the type of material, installation can take a few days to a couple of weeks.
- Siding is installed section by section.
- Trim pieces, soffits, and fascia boards are added.
- Details like caulking, sealing, and painting (if needed) are finished.
Expect daily updates from your contractor on progress and any unexpected issues.
7. Final Inspection and Clean-Up
Once the siding is installed:
- The contractor will do a walk-around with you to inspect the work.
- Any touch-ups or corrections will be completed.
- The crew will clean up debris and remove old materials.
You should receive documentation of warranties for both the siding product and installation.
8. Enjoy Your New Exterior!
With your new siding installed, your home will not only look refreshed but also be better protected against Cape Cod’s wind, salt air, and seasonal temperature changes.
Conclusion
Siding installation on Cape Cod requires a combination of craftsmanship, local expertise, and attention to detail. By knowing what to expect from start to finish, you can confidently move forward with your project and enjoy lasting results.
If you’re ready to get started, reach out to local siding professionals who understand the unique needs of Cape Cod homes.

